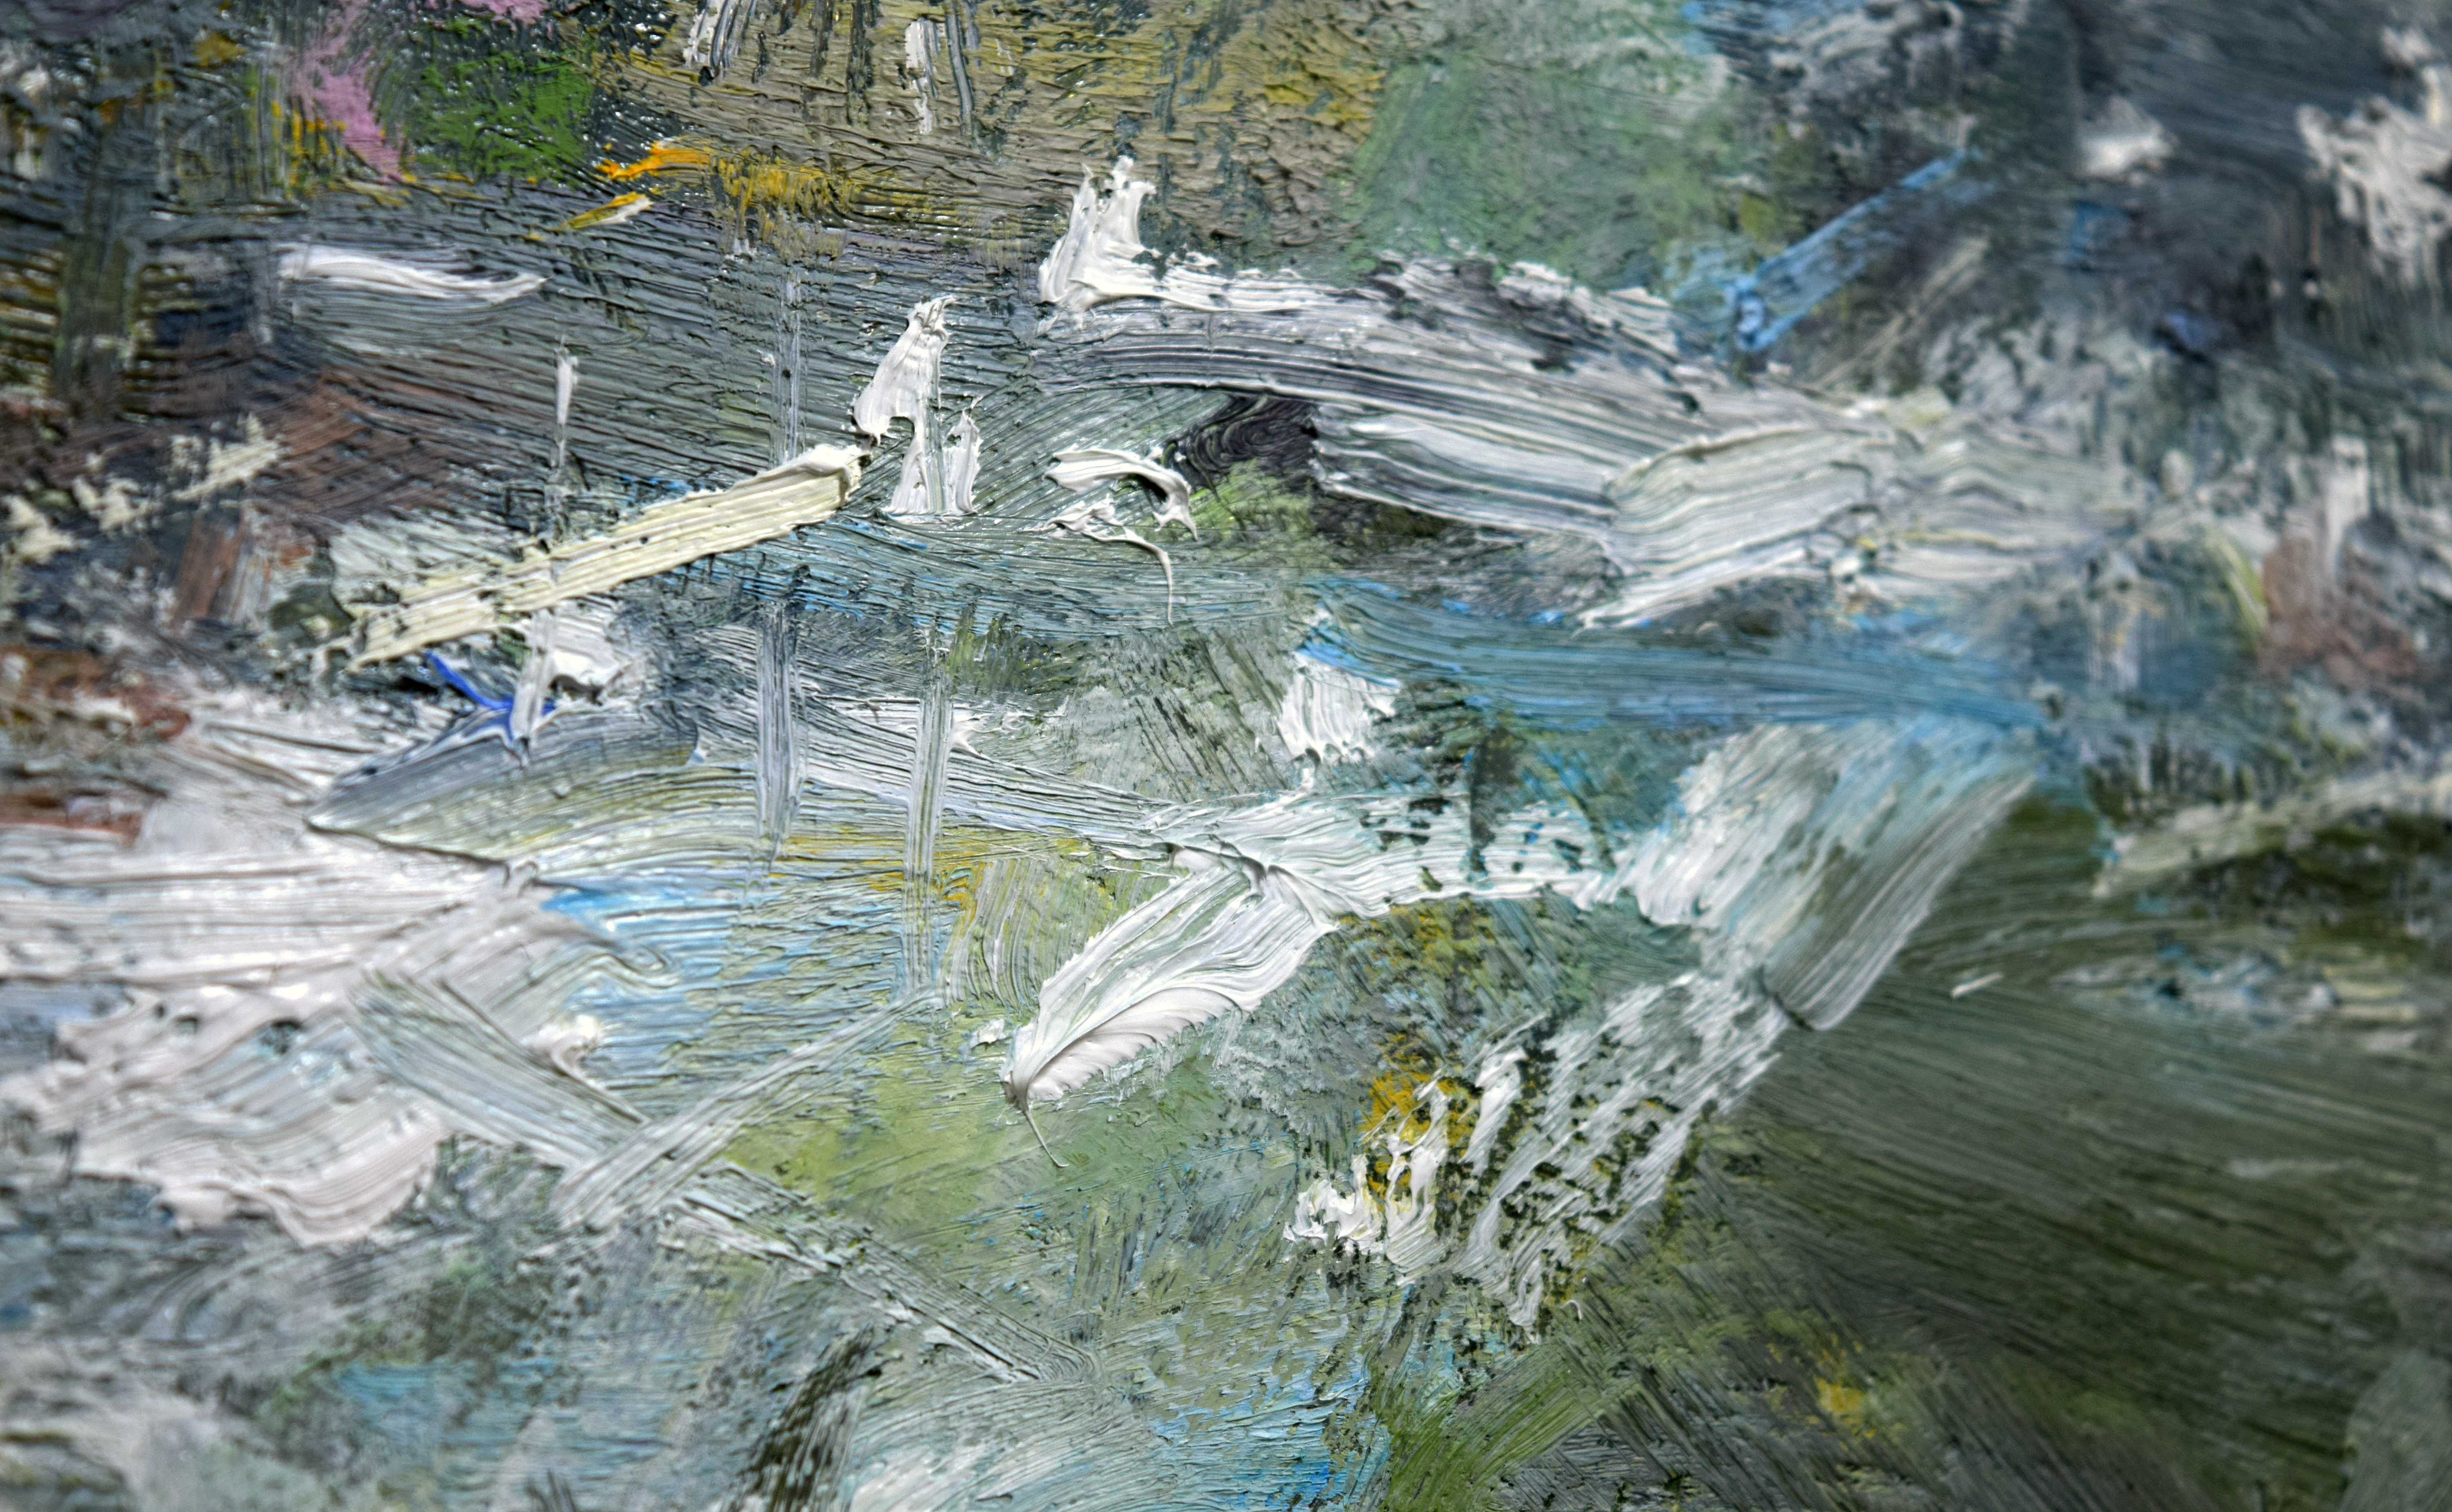
This article is the overview article for Brushstrokes. Each area is divided into individual posts to make it easier to target information relative to you. If you find this post too long, enter your search term in the search box to find the targeted articles which make up the whole of this article
Brushstrokes are a great place to start when understanding the language of paint and when starting a painting. The strokes you lay down in the beginning of your piece, form the soul and the strength of the marks which will be laid on top of them. The initial strokes establish your intention and the tone that you are approaching the painting with. If you are thoughtless or lazy with your initial strokes, you will have a hard time working the painting forward.
Brushstrokes are the tapestry of a painting that visually weave to create a whole and it is best to think about them as stitches in the great tapestry of your work.
Understand that there are no rules but there are truths and the way that you execute them is based on your intention and context. It is about choosing when to break the rules and not about breaking them by default. So when I say ‘3 strokes and clean your brush’ of course you can do 4 but this needs to be a choice not by default.
By the way, my favourite brush is the Filbert which is like a flat but with rounded edges because it is a very versatile brush. I have never found the use of a round and the flat is a little too sharp for my tastes. I use brushes of average quality in that they can do their jobs without being too hard or loose too many hairs. The truth about a brush is that it is about how you use it not what it is made of. I like brushes because their marks are inherently different each time that you apply them and the bristle impressions left in the paint are important tools in carrying the viewer along the little pathways that you build.
The Sublime:
The speed that you place a brushstroke down with, is the speed that the viewer will move along the stroke with. Directional and unifying brushstrokes really are like roads and you set the speed limit. The contours of your stroke are the contours that the viewer will move along. Lay down short strokes and the other person will start and stop with you. End or start abruptly and the other person will enter or exit your painting with the same suddenness. You see this is the sublime – brushstrokes directly connect with the other person and carries them on your journey.
Last breath advice:
Always, always, always start with directional brushstroke
One brushstroke is always better than 2
Other top points:
Lay your stroke down and don’t fix
Don’t fill in areas, only place something down when you have something to say
Think about where you start and finish the brushstroke
Load your brush appropriately
Pick up the paint off your palette, don’t smash it into the bristles
Let there be a layer of paint between your bristles and canvas
Hold your brush appropriately in terms of where you place your fingers
Pay attention to the angle of your brush in relation to the surface of the canvas
Pay attention to the pressure that you apply to your brush
3 strokes, wipe and load
Let’s start here: Four types of brushstroke
I have noticed 4 dominant types of brushstroke which I’ve creatively named for their purpose in the painting: Directional, Descriptive, Focal and Unifying. In identifying these categories I hope to help you identify them for yourself so that you can add them to your tool box and bring them out when you need them. I have listed them as you will notice the need for them in a painting but you can use them at anytime in your painting.
Directional brushstroke
Remember when you were just starting out and you spent all that time thinking about the focal point in your painting as well as perspective and vanishing points? Directional brushstroke is the nuclear bomb to those. It takes care of both composition and perspective, it provides movement to the painting, it gives a solid foundation and it is the instilling of the soul of the work.
A little goal of mine is always to have some of the original directional brushwork showing through in the final painting which is possible when you only say something with your brush when you have something to say. This means that you are not filling in areas that you think you need to colour in or that you are afraid of. The filling in of areas in your painting is an easy trap that will reduce your painting to simply a rendering.
It is with this goal in mind that the importance of directional brushstroke becomes apparent.
Directional brushstroke is directional because they are the highways that run through a painting, they are usually executed with speed and vigor which in turns sweeps the viewer along, guides them to the focal point and moves the other person though the painting via the route that you chose. As you build your painting, you will understand the importance of treating your strokes like stitches in a tapestry when you notice that the initial directional brushstrokes are often visible underneath and are still able to exert their influence. You also cannot underestimate the power that these strokes have on your own psyche.
So always, always, always start your painting with directional brushstrokes. Later you can execute similar strokes but these usually have a different function and are defined more by their unifying characteristics and quality of paint.
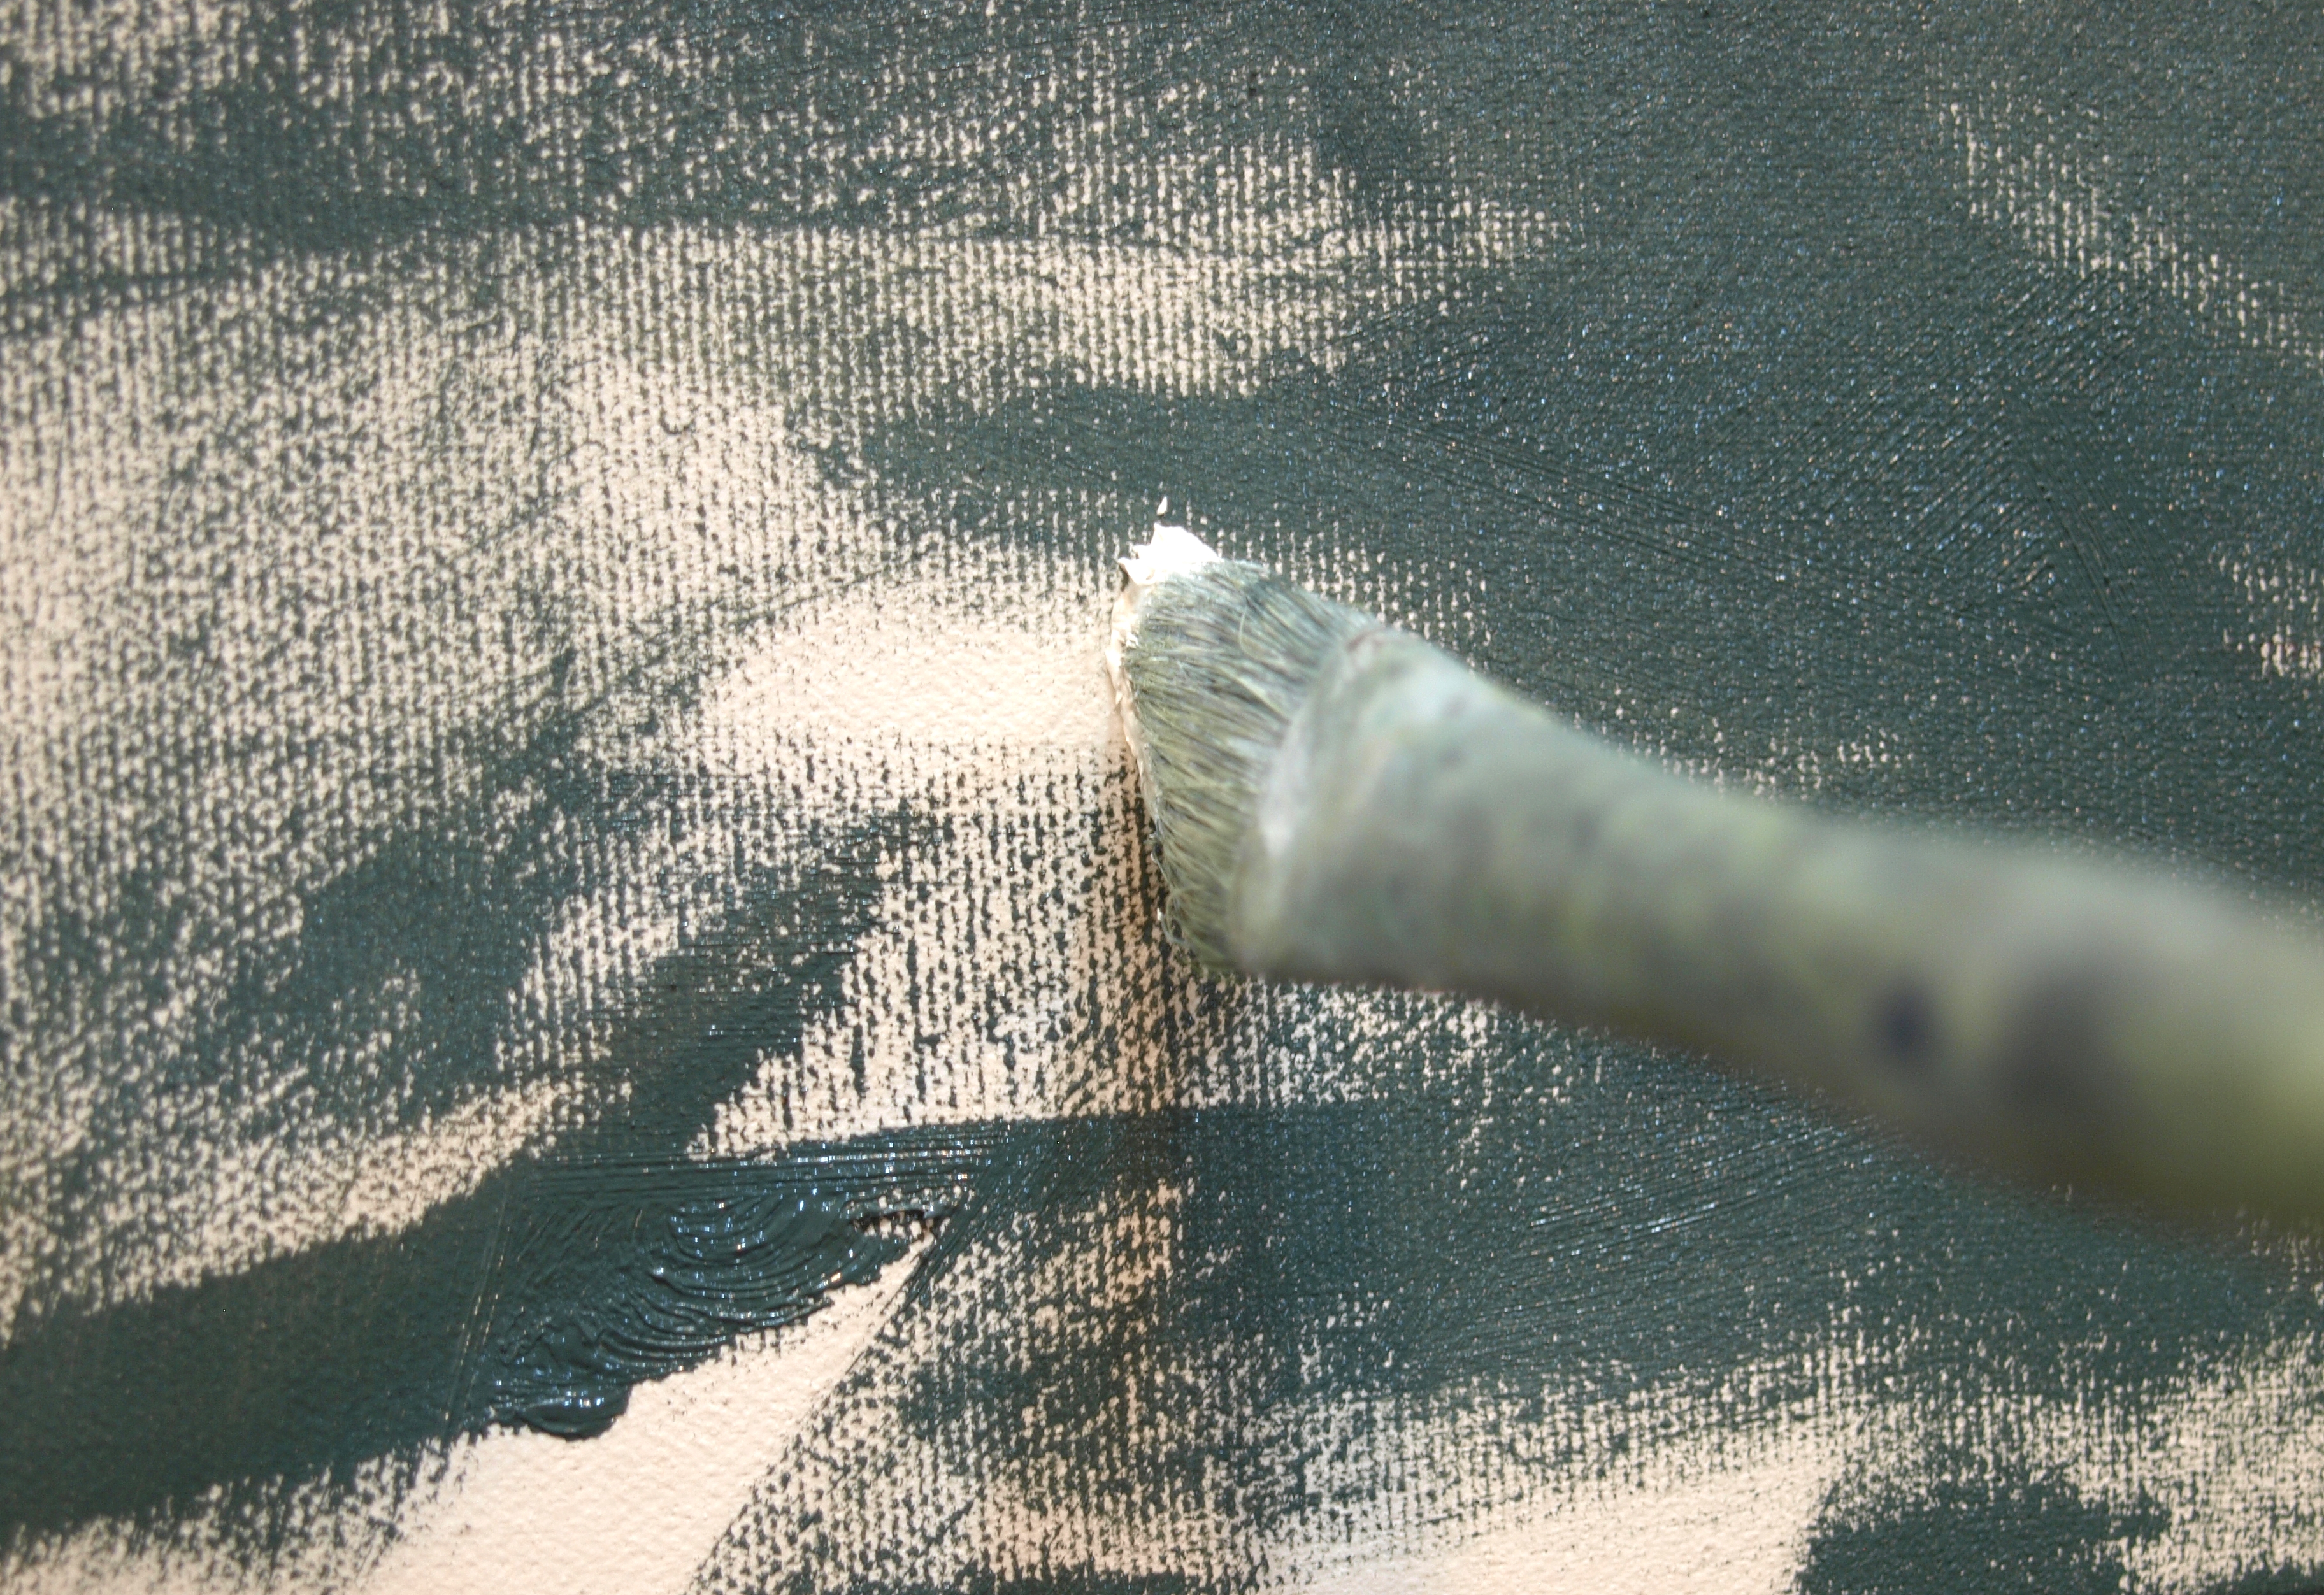
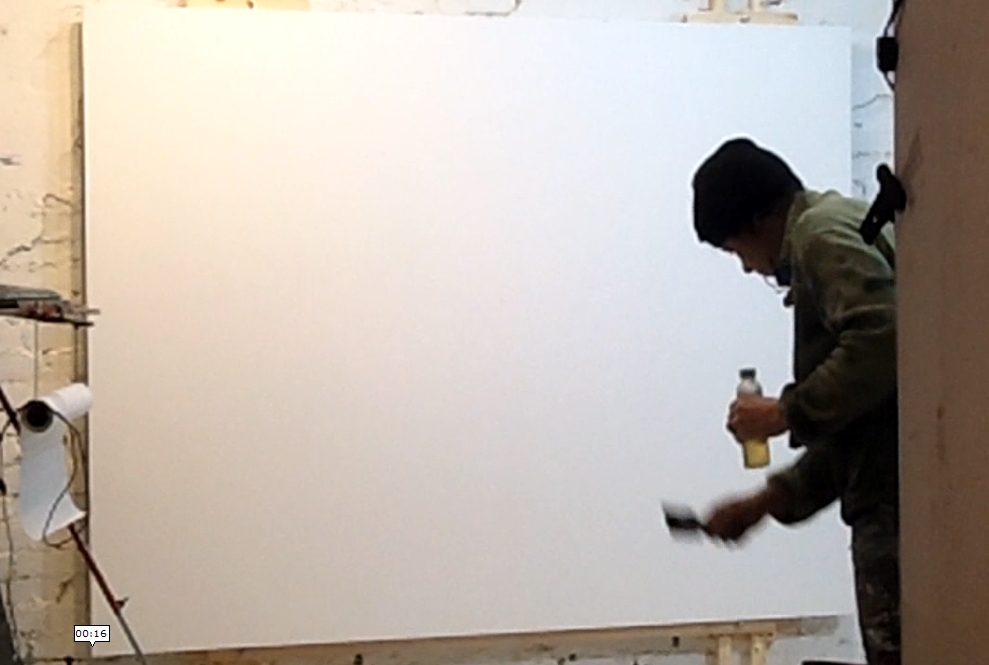
Directional Brushstrokes are made with large brushes of flexible paint that sear across the canvas and are usually done in the opening moments of the painting. The strokes are made with your dark and the colour statements that follow. The size of your brush is based on the idea that one brushstroke is always better than two so choose a brush that will let you do this. The brush is loaded enough that the brushstroke has the ability to start and finish where you want it to and the quality of paint should allow the stroke to complete. On a large painting you may need to add more medium to the paint but remember that you hope that some of these brushstrokes will be in the final painting so you want to add just enough medium to make the paint work for you. It is important that your directional brushstrokes be laid down without hesitation.
Pay attention to where your strokes start and end and how they start and end. Always look for a way for your directional strokes to break over each other.
Descriptive Brushstrokes
Once you have moved through the opening moments in your painting, you will have the need to build – time for Descriptive brushstrokes. I used to think of emotive and descriptive brushstrokes as 2 separate categories but I’ve realized that emotive is really a characteristic of the descriptive. It is a way of laying down the paint so that the mark carries the emotional content of the description.
Descriptive brushstroke defines the elements in your painting but it is not drawing, it is moulding the elements out of the surface of the canvas. Another way to think about descriptive strokes is that you are laying down your paint in a way that reveals the elements as opposed to imposing them on the canvas. To understand the idea of moulding it is important to remember that the other person, the 50% part in this 3 way relationship, is your viewer and you need to engage them to complete the painting. To engage your viewer, allow enough space in the painting for them to start their relationship, do this by using your descriptive brushstrokes to give enough information about the element so that the viewer can use their imagination to complete it.
Engage your viewer by signalling to them that the painting is more than an object to consume but is a tool of translation. You signal by keeping your marks loose and the easiest way to do this is to use one stroke instead of two. If you present the other person with a tightly rendered painting, your signal is that there is no work to be done because you have left no entry into the painting. Use simple, seductive brushwork and the viewer will instinctively engage and will naturally complete the element because we have a highly developed ability to recognize pattern where none exists. This is known as Pareidolia and it is the reason we see faces in rocks and animals in clouds and why we imbue these inanimate objects with intention as to whether they are friendly or not.
There is a level of sophistication with your mark making that you need to achieve but keep adding to your tool box and pay attention to what happens when you place the marks on the canvas and you will understand how to improve your sophistication.
Descriptive marks work towards describing elements in the simplest way possible while at all times paying attention to evoking the feeling that you want them to evoke. When describing a tree you have many choices, there are long strokes, small strokes, squiggly strokes, smudgy strokes, strokes that start abruptly on the canvas and those that wisp their way through the canvas or a combination of all of them. In deciding what decisions to make also consider the concept of your painting as this helps you gauge which direction to take as each descriptive marks evokes a different feeling so what feeling are you looking for?
Descriptive marks should not be self contained, remember that you are building a magical tapestry that engages the 50% part of the painting – your viewer and this means building strong foundations, so let the marks break into each other. You can always choose to simplify and area later but you cannot build a tapestry at the end.
Your descriptive brushstrokes should have a paint load that is relevant to the mark that you want to make and your brush size will be decided by this mark as well. One stroke instead of two, so if you can’t so this with your brush check that you have enough paint on your brush and that your brush is large enough. Notice that I didn’t say thin enough as this is rarely a problem as one brush contains a multitude of marks. We will come to this later but for now consider how a filbert or a flat can in the same stroke move from thick to a whispy thin simply with a flick.
Pay attention to how your stroke starts and finishes.
Focal Brushstrokes
Focal brushwork starts once you have gone through laying down the directional brushstrokes and have started moulding your elements through descriptive brushstrokes. These are the brushstrokes whose purpose it is to focus the eye, this is not that they are used at the focal point but to focus the eye. What is the difference? Imagine a painting that is completely in focus and sharp with one blurry spot, lacking in detail somewhere in the painting. Your viewers eye will naturally be drawn to a place where it can rest and when pattern recognition comes into play, this would be the blurry point so your blurry point is your focal point.
Focal brushwork literally focuses the eye and is an important tool if we approach the painting with the attitude of building a tapestry so that the painting is inherently rich, has complexity and has enough room for the viewer to engage and complete the painting. With this intention a painting can easily become too rich in layers with nothing to hold onto and the focal brushstroke carries out this task for us.
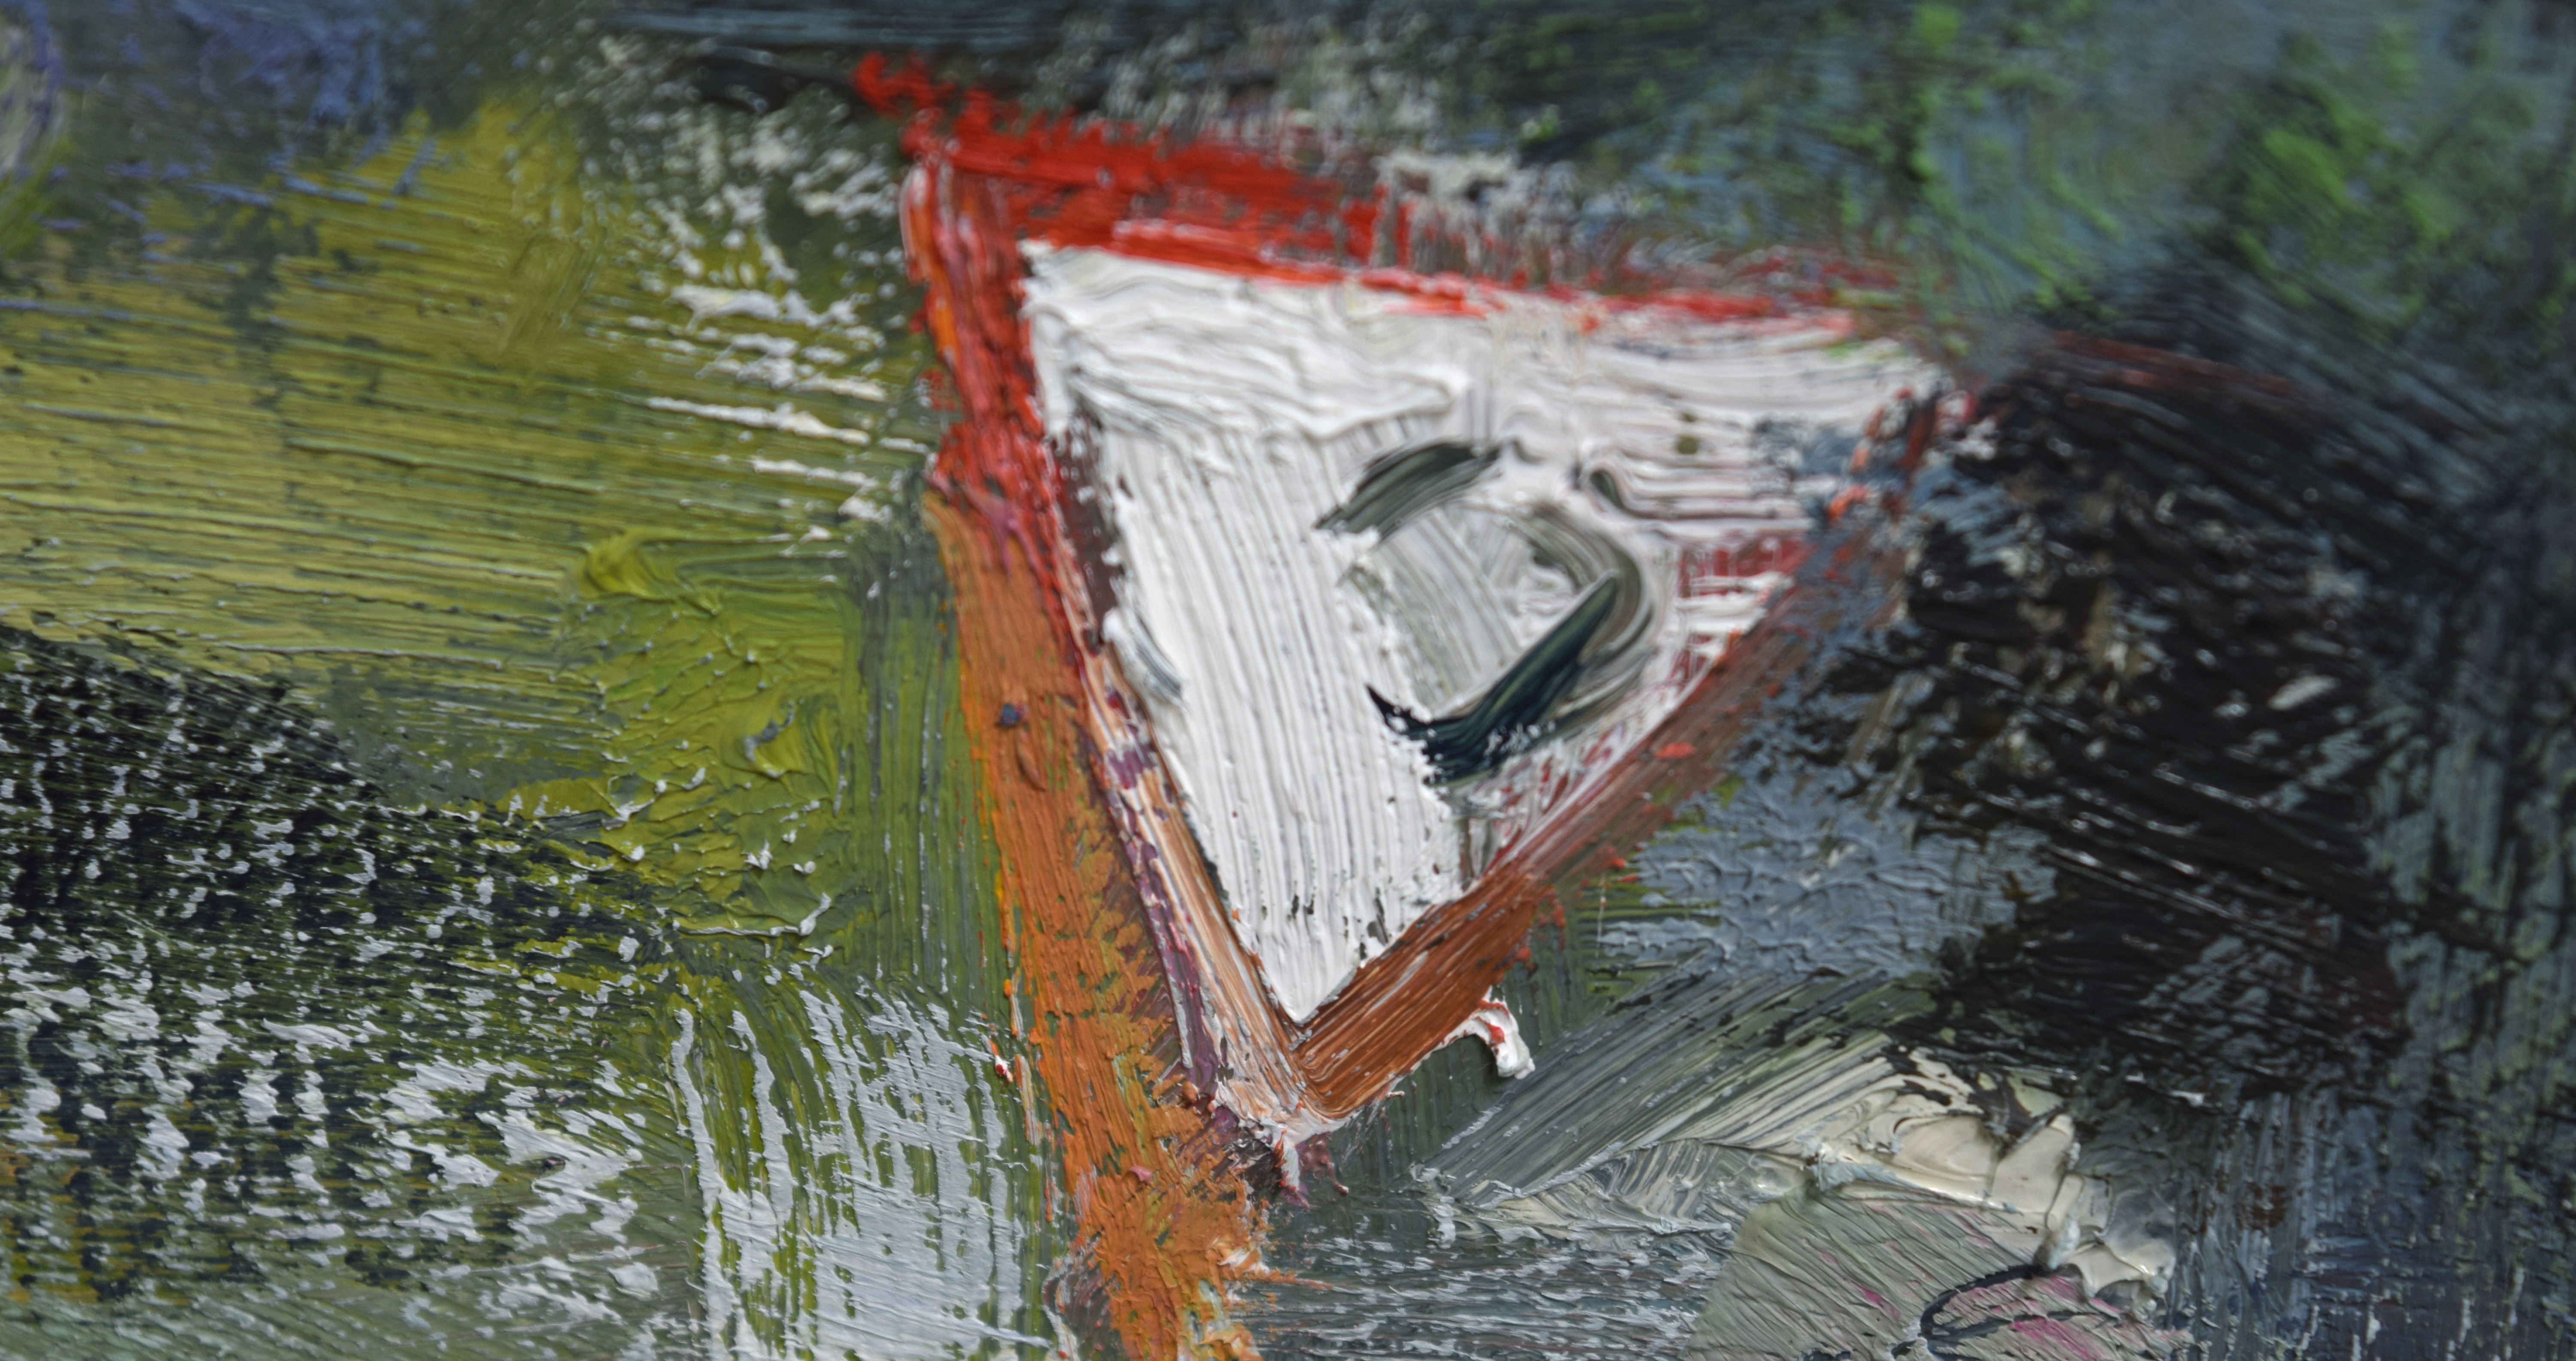
Focal brushwork relies on the idea of one brushstroke instead of 2 and should be placed with confidence and an awareness of how it starts and finishes. A focal brushstroke which is unnecessarily broken or hesitant will not carry the strength needed to focus the eye. The common feature of a focal brushwork is that it is usually opaque and is confidently placed preferably with some kind of tactile quality so that the viewer gravitates to it, they can be thick or thin, short or long. A focal brushstroke may or may not break over other strokes but it is not like descriptive strokes in that it does not add to the tapestry by being transparent, it is opaque – it covers it’s space.
It is important to pay attention to when you are using focal brushwork in a painting as it is common for painters to use this type of stroke throughout the piece with the resulting work being complicated, made up of many parts. A complicated painting is a fine choice if it is a choice that is relevant to the concept but complex is always preferred as complex gives your viewer enough space to build their own meaning into the painting.
It is important not to hold your focal brushstroke as precious. It is built and destroyed repeatedly with the hopes that some of the original stroke will remain in the final painting as this adds more visual luxury to the painting.
Unifying Brushstroke
Unifying brushstroke is an exciting stroke as it holds potential, it is dynamic and at certain times it can really change the conversation in the painting. Unifying brushwork usually comes into play once you have worked through a couple of cycles and your painting holds a rich tapestry of directional, descriptive and focal brushwork. As you build the painting you will usually loose the structure of the painting and need to carve it back in, at other times your brushwork will be too busy because it is all too separate from each other or you may have plummeted into too much detail too soon. It is usually when you are feeling unsatisfied but confused as to which direction you need to take that unifying brushstroke is something to consider.
Unifying brushwork moves across elements in order to combine them visually into one. Think of edges as ledges, wherever you have an edge that is created buy 2 strokes lying next to each other but not intersecting or you have a line or focal stroke, you have a ledge that makes your viewer stop moving and step. Think of your directional brushstrokes and unifying strokes as highways that lead your viewer through the painting. Directional brushstrokes are only really possible at the beginning of the painting but unifying strokes are part of the same family and reinforce the movement of the directional strokes while creating highways across ledges.
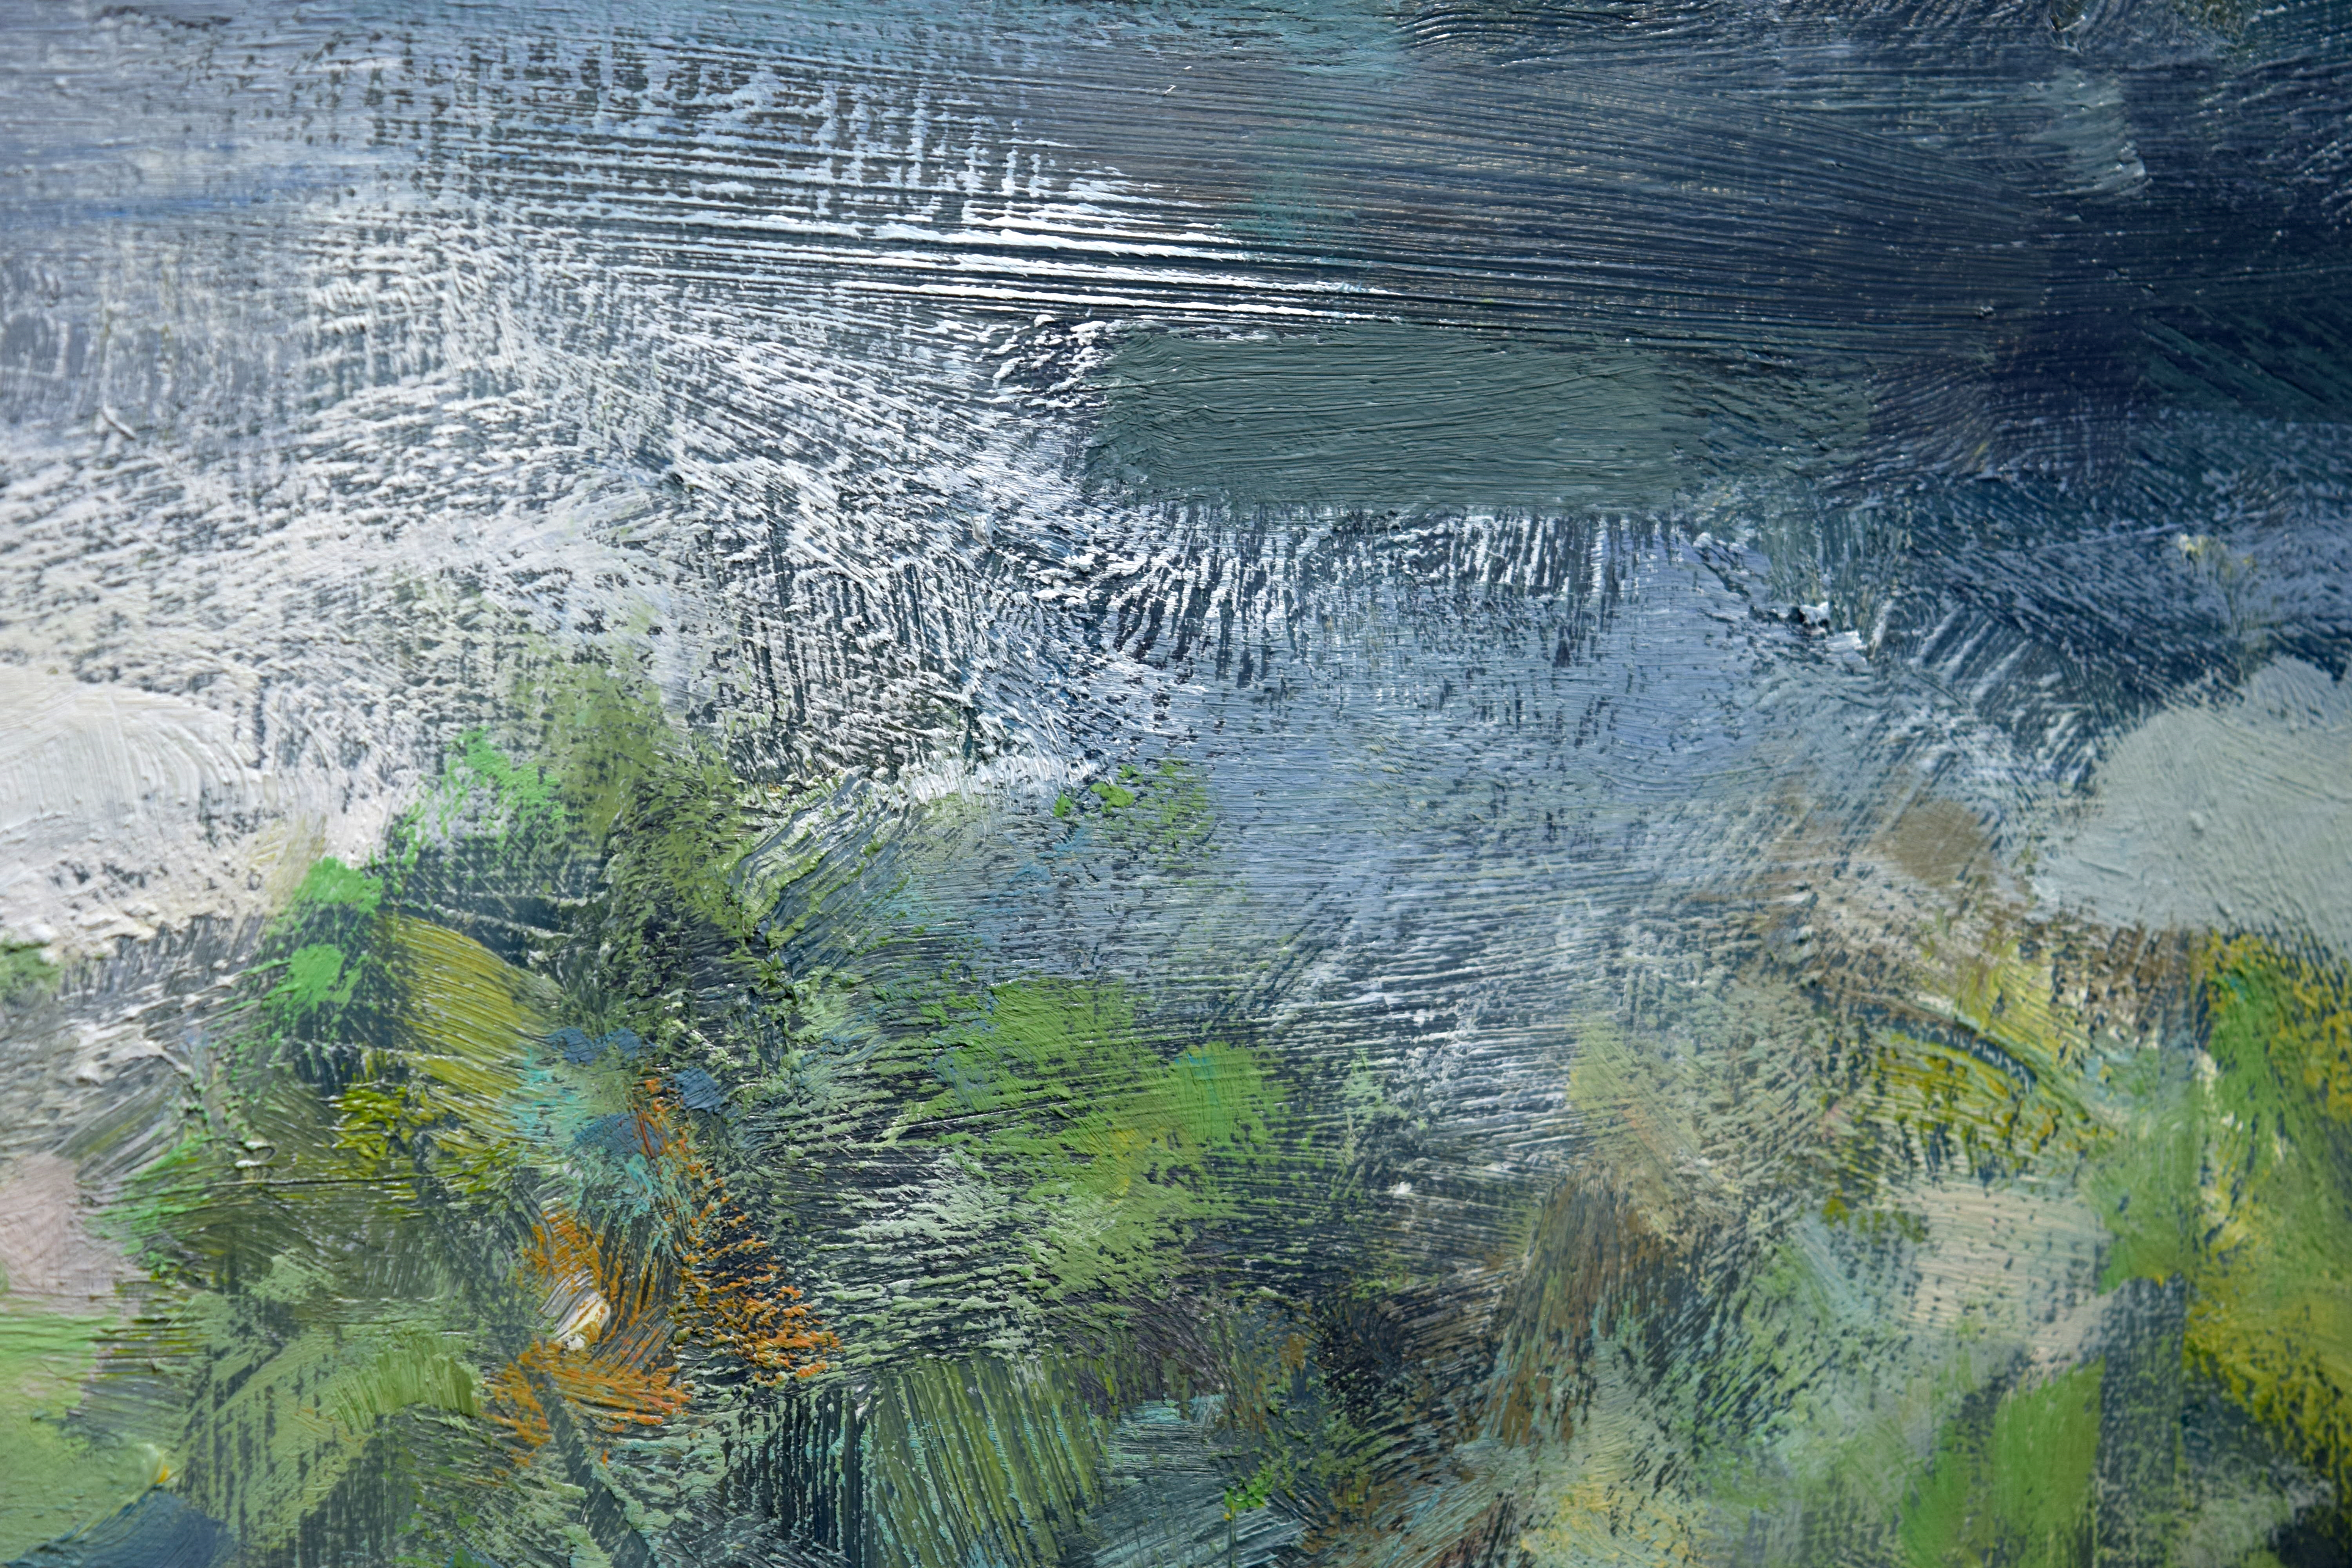
Unifying strokes can be wide or thin but they are usually transparent so that some of what is underneath is visible and they don’t always need to be made with a loaded brush. The great thing about oils is that they stay wet for long periods of time and a wonderful unifying stroke is one executed with a dry brush run across the elements which need to be unified into a whole so that your viewer reads through the element and does not repeatedly stop.
Unifying strokes can be used delicately in small areas when you feel that minor adjustments need to be made and they can be used to dramatically carve into the painting so that the conversation changes and new options are opened to you.
Unifying strokes like the directional strokes, consider the way that you want your viewer to move through the painting but unlike directional strokes, they take into consideration the elements already built into the painting and these determine where they start and stop. This is not to say that unifying strokes obey the elements present in the painting but that they consider them. This means that you won’t wantonly destroy areas but as always, you will look for an opportunity to start and finish your strokes outside of the area that you are applying the stroke so that unity in the painting as a whole develops naturally.
Unifying strokes do not need to have a visceral quality to them as they are best when they are invisible in the final painting not because you cannot see them but because your descriptive and focal strokes are so strong. Grey in a painting is a concept as well as a colour as grey is an area of neutrality or an area where the eye can relax. In a painting the unifying strokes can create grey areas as they remove the ledges so that your viewer moves through them without being conscious of the content.
Unifying strokes can also be carried out by removing the paint from the canvas completely. I often use this approach to the unifying marks because removing the paint is a strong, decisive move which is great when I feel a little lost. Using a pallet knife to remove the paint also reveals interesting marks and colours below the paint which cannot be achieved by applying paint.
Unifying strokes can be made with a lightly loaded brush which does not blot out the area that it is unifying, they are usually made with a wider brush and they move through the canvas in a way that assists the viewers eye to move through the painting. They are little highways that preserve the subject but helps your viewer move where you want them to move.
To be continued:

